I knew my sweet tooth was acting up. I had been craving a sweet treat and because of that this weeks experimental recipe is a dessert. I was looking at scone recipes and found several on line and tweaked them a bit to come up with this.
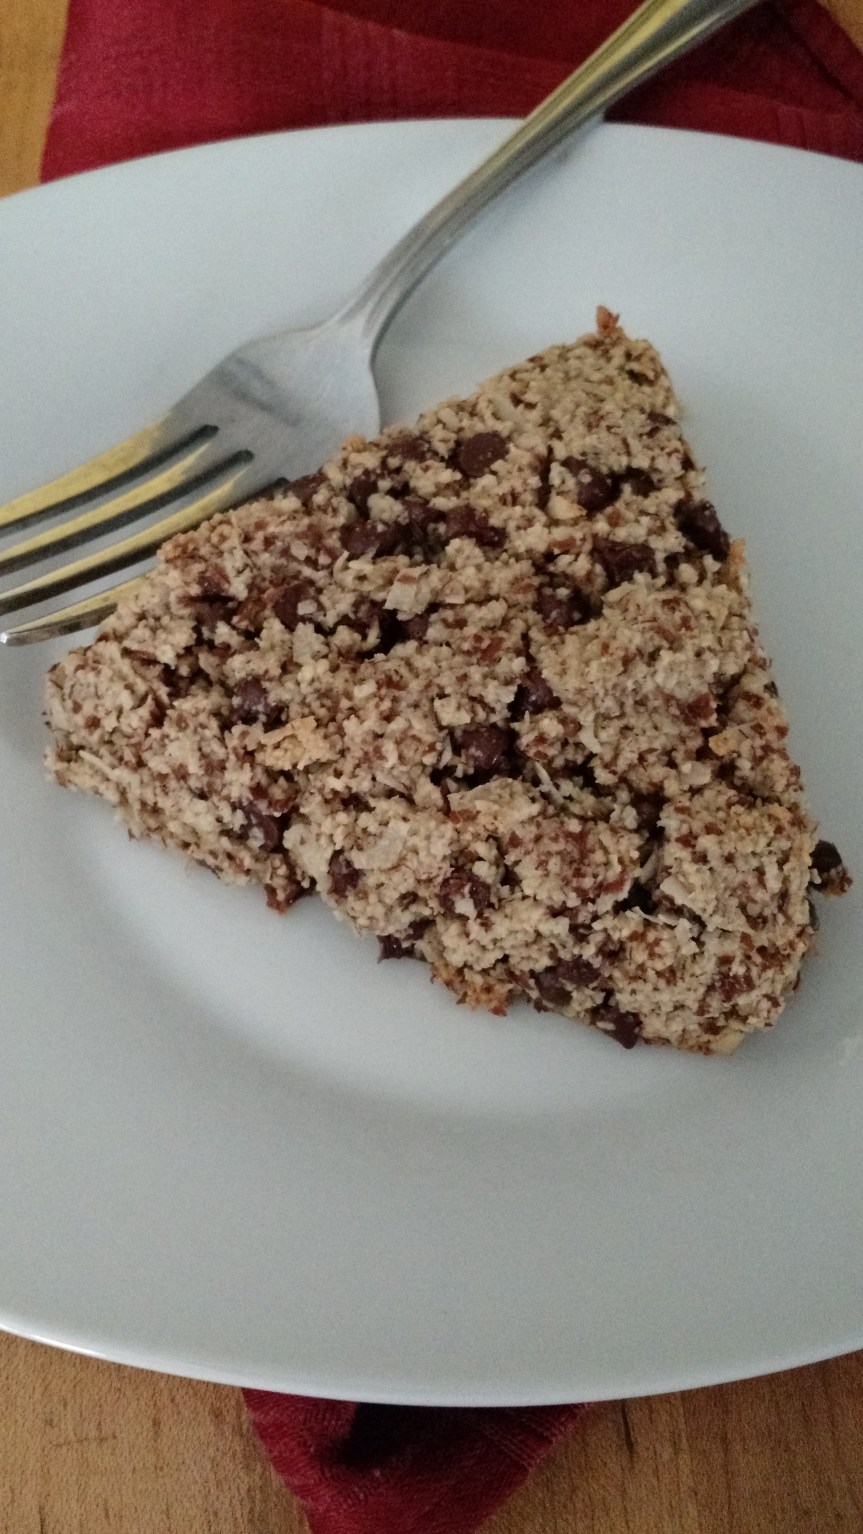
It turned out great and the texture and taste were both awesome. While these cookies are shaped like a scone I have to say that is the only resemblance they have to a scone. So if you are looking for that buttery crispness of a scone, this is not the recipe.
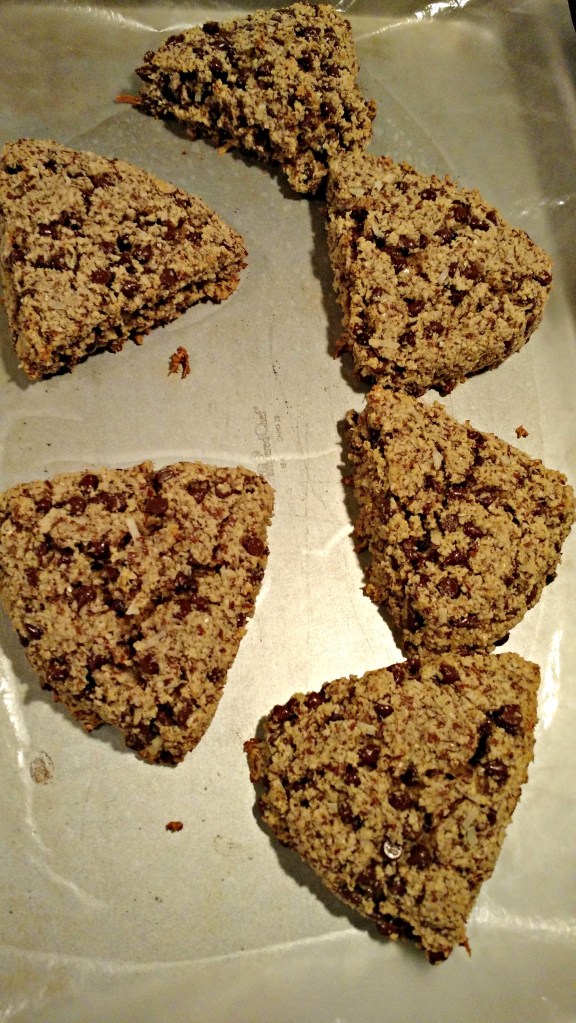
However, these make great cookies, which is exactly what I will shape them into next time. They reminded me of, a chocolate coconut chewy cookie. Think almond joy cookie.
They are delicious and I will be making them again because they are a great little sweet treat that’s not too hard on the waistline but the ingredients are a bit expensive, so I’m really glad it tasted good.
What is the Paleo diet? The paleo diet runs on the same foods our hunter-gather ancestors supposedly ate: fruits, vegetables, meats, seafood, and nuts. Anything that comes in a box, jar, or bag should be avoided on the paleo diet—as should anything that just wasn’t consumed back then. That means no grains, dairy, added salt, or legumes.
The Z Man and I do not follow the Paleo diet, but I would have to say that our style of eating does lean a bit in that direction.
I was looking for a sweet treat that was low in carbohydrates and sugar and I found it….
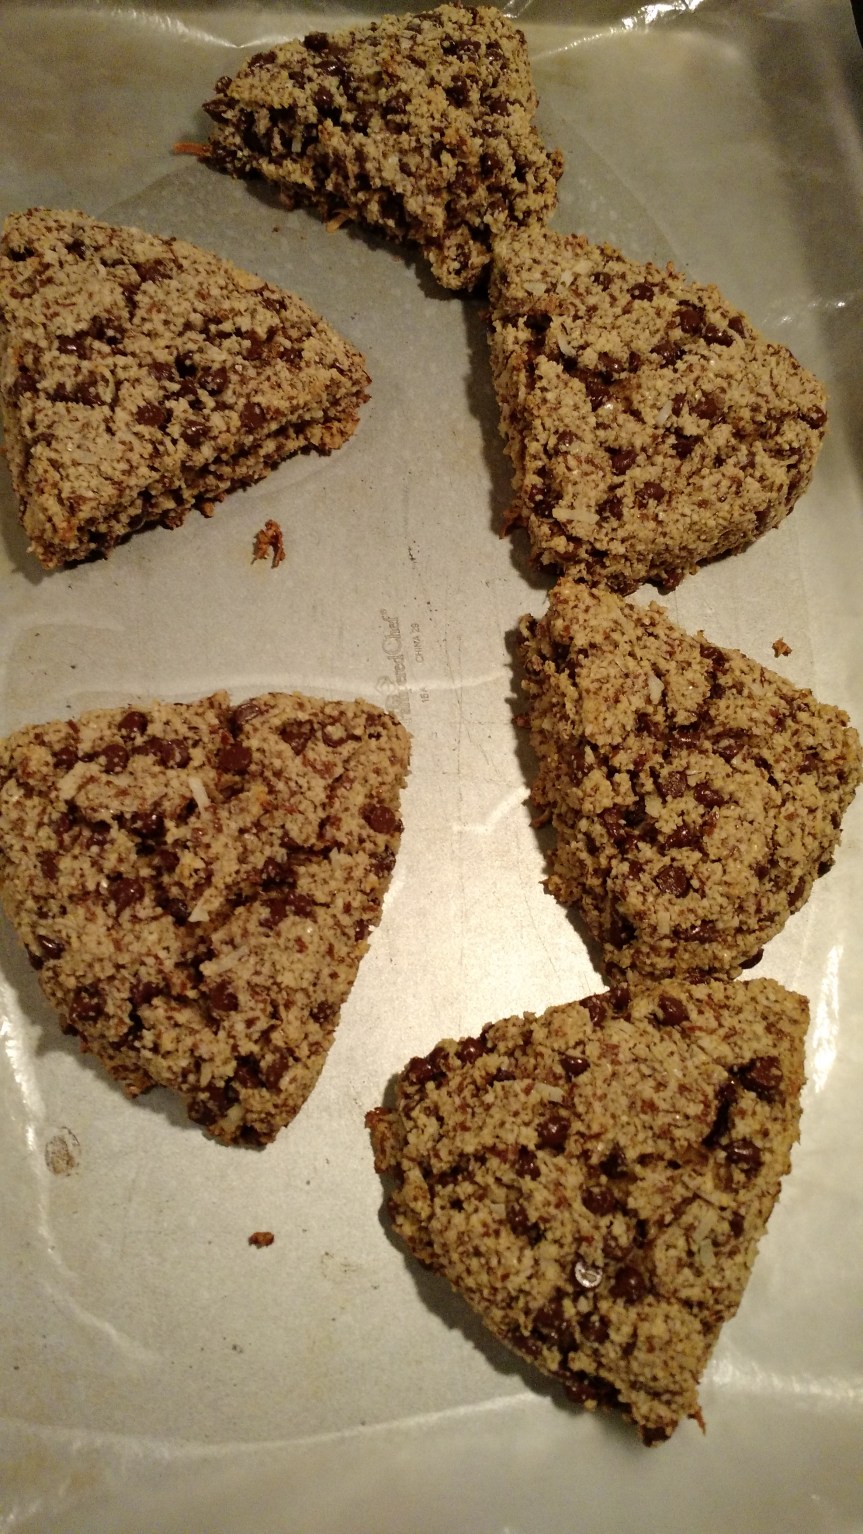
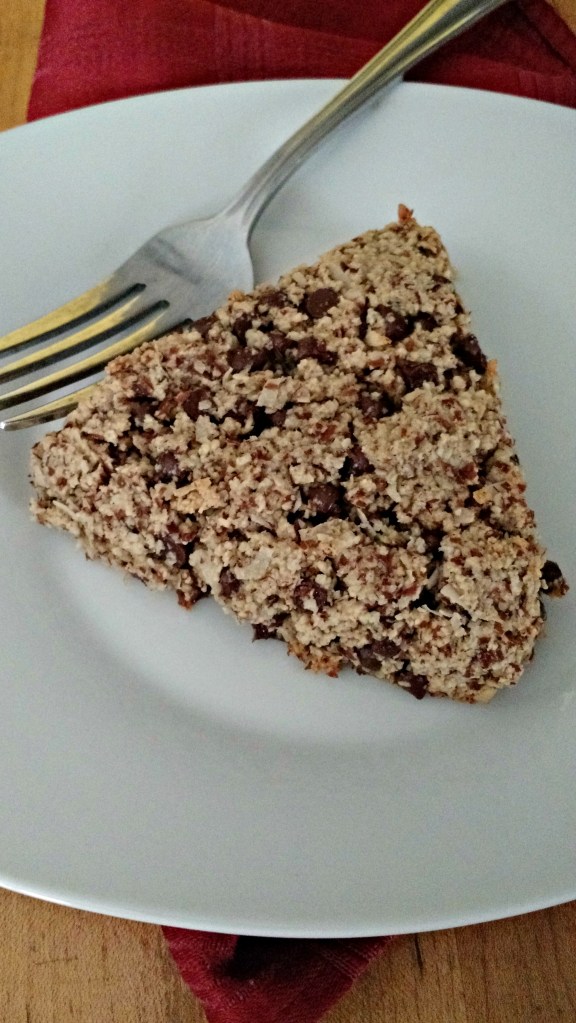
Paleo Chocolate Coconut Cookies
- 2 cups almond flour
- 1/4 tsp salt
- 1 tsp baking soda
- 1/2 cup enjoy life chocolate chips
- 1/4 cup unsweetened coconut flakes
- 1 egg
- 2 Tbsp pure maple syrup
- Preheat oven to 375 degrees
- In a large bowl, combine almond flour, salt, baking soda, chocolate chips, and coconut
- In a smaller bowl, mix the egg and pure maple syrup until well blended
- Add the wet ingredients to the dry and mix well
- Knead the mixture with your hands if necessary to ensure an even distribution of ingredients
- Form mixture into a circle approximately 1/2 inch thick
- Cut the circle like a pizza into 6 or 8 slices depending on the size you want or using a cookie scoop, form balls and flatten into round cookies
- Transfer to a parchment lined baking sheet
- Bake for 10 minutes or until golden brown and cooked through
You can very easily change the flavors of these cookies by using your favorite flavors such as dried fruits or a different chocolate. The good life chocolate chips are paleo and a bit higher in price than regular chocolate chips, but again you could use regular chocolate easily if you don’t “need” to follow a paleo diet.
Try them, I think you’ll like them.
Till next time,
Lori